
Hello Lovely!
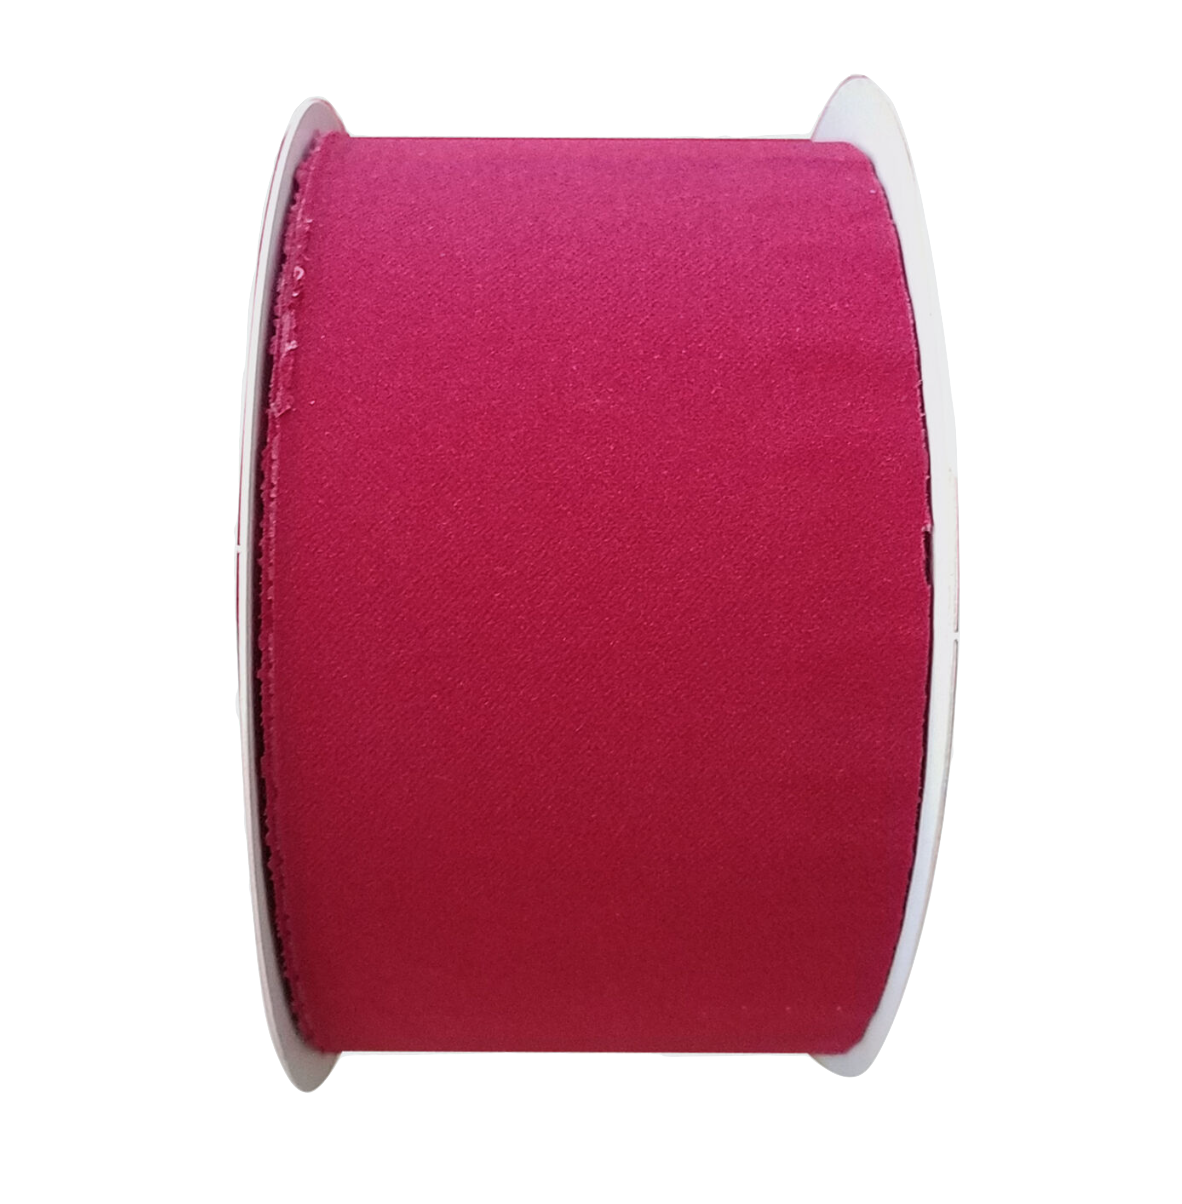
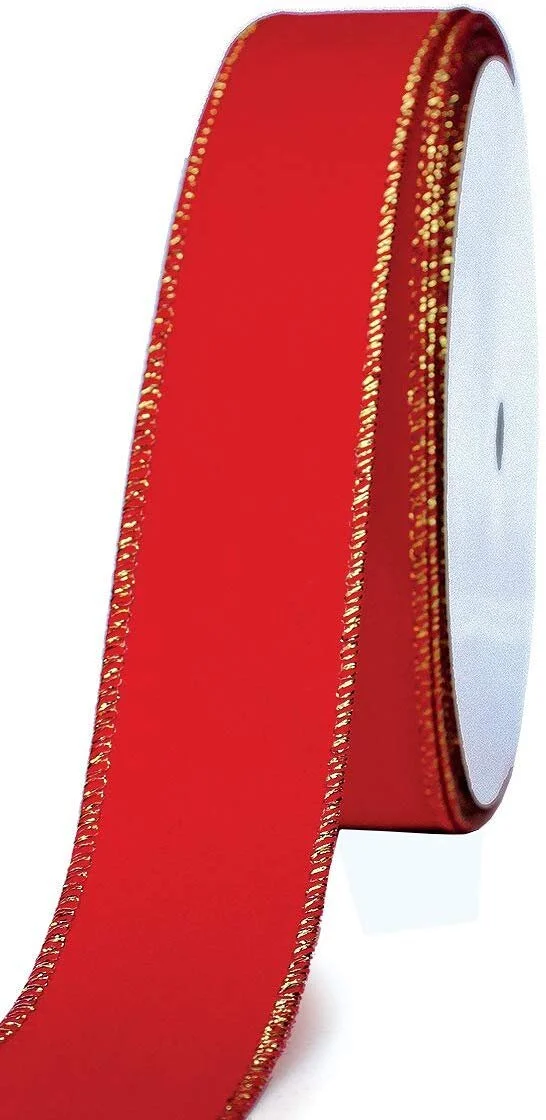
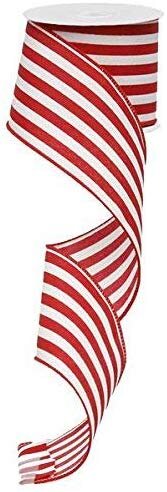
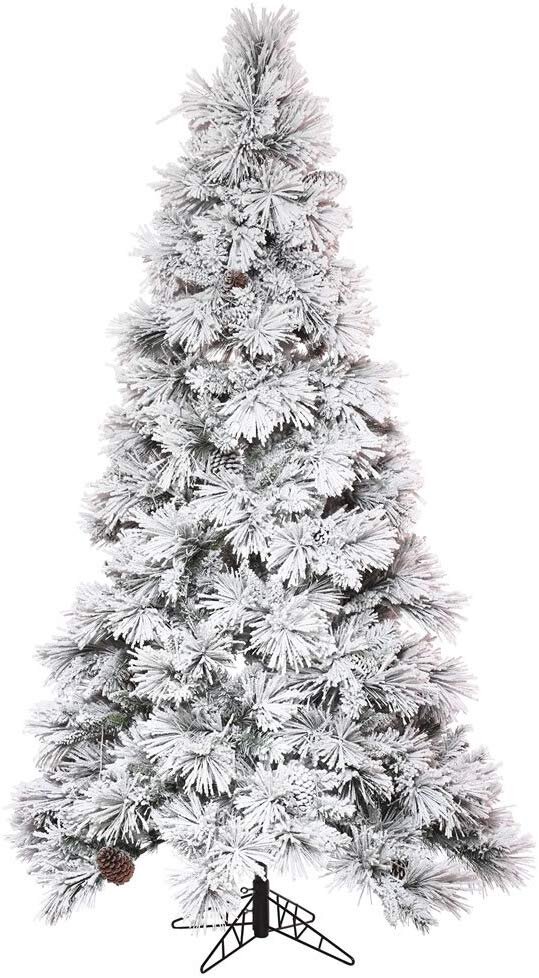
Last week I shared a few photos of our home for the holidays (you can see that post by clicking here). Today, I am going to be sharing a tutorial for the bows I used to decorate our Christmas tree! They were so easy to make & ended up costing me less than $1 each! As you can see in the photos, I used a solid red ribbon as the main bow color, with a red & white striped ribbon as the accent. However, you can use whatever color combination you’d like to complement you color scheme. If you’re interested in learning how to make these easy & affordable bows, keep on reading!
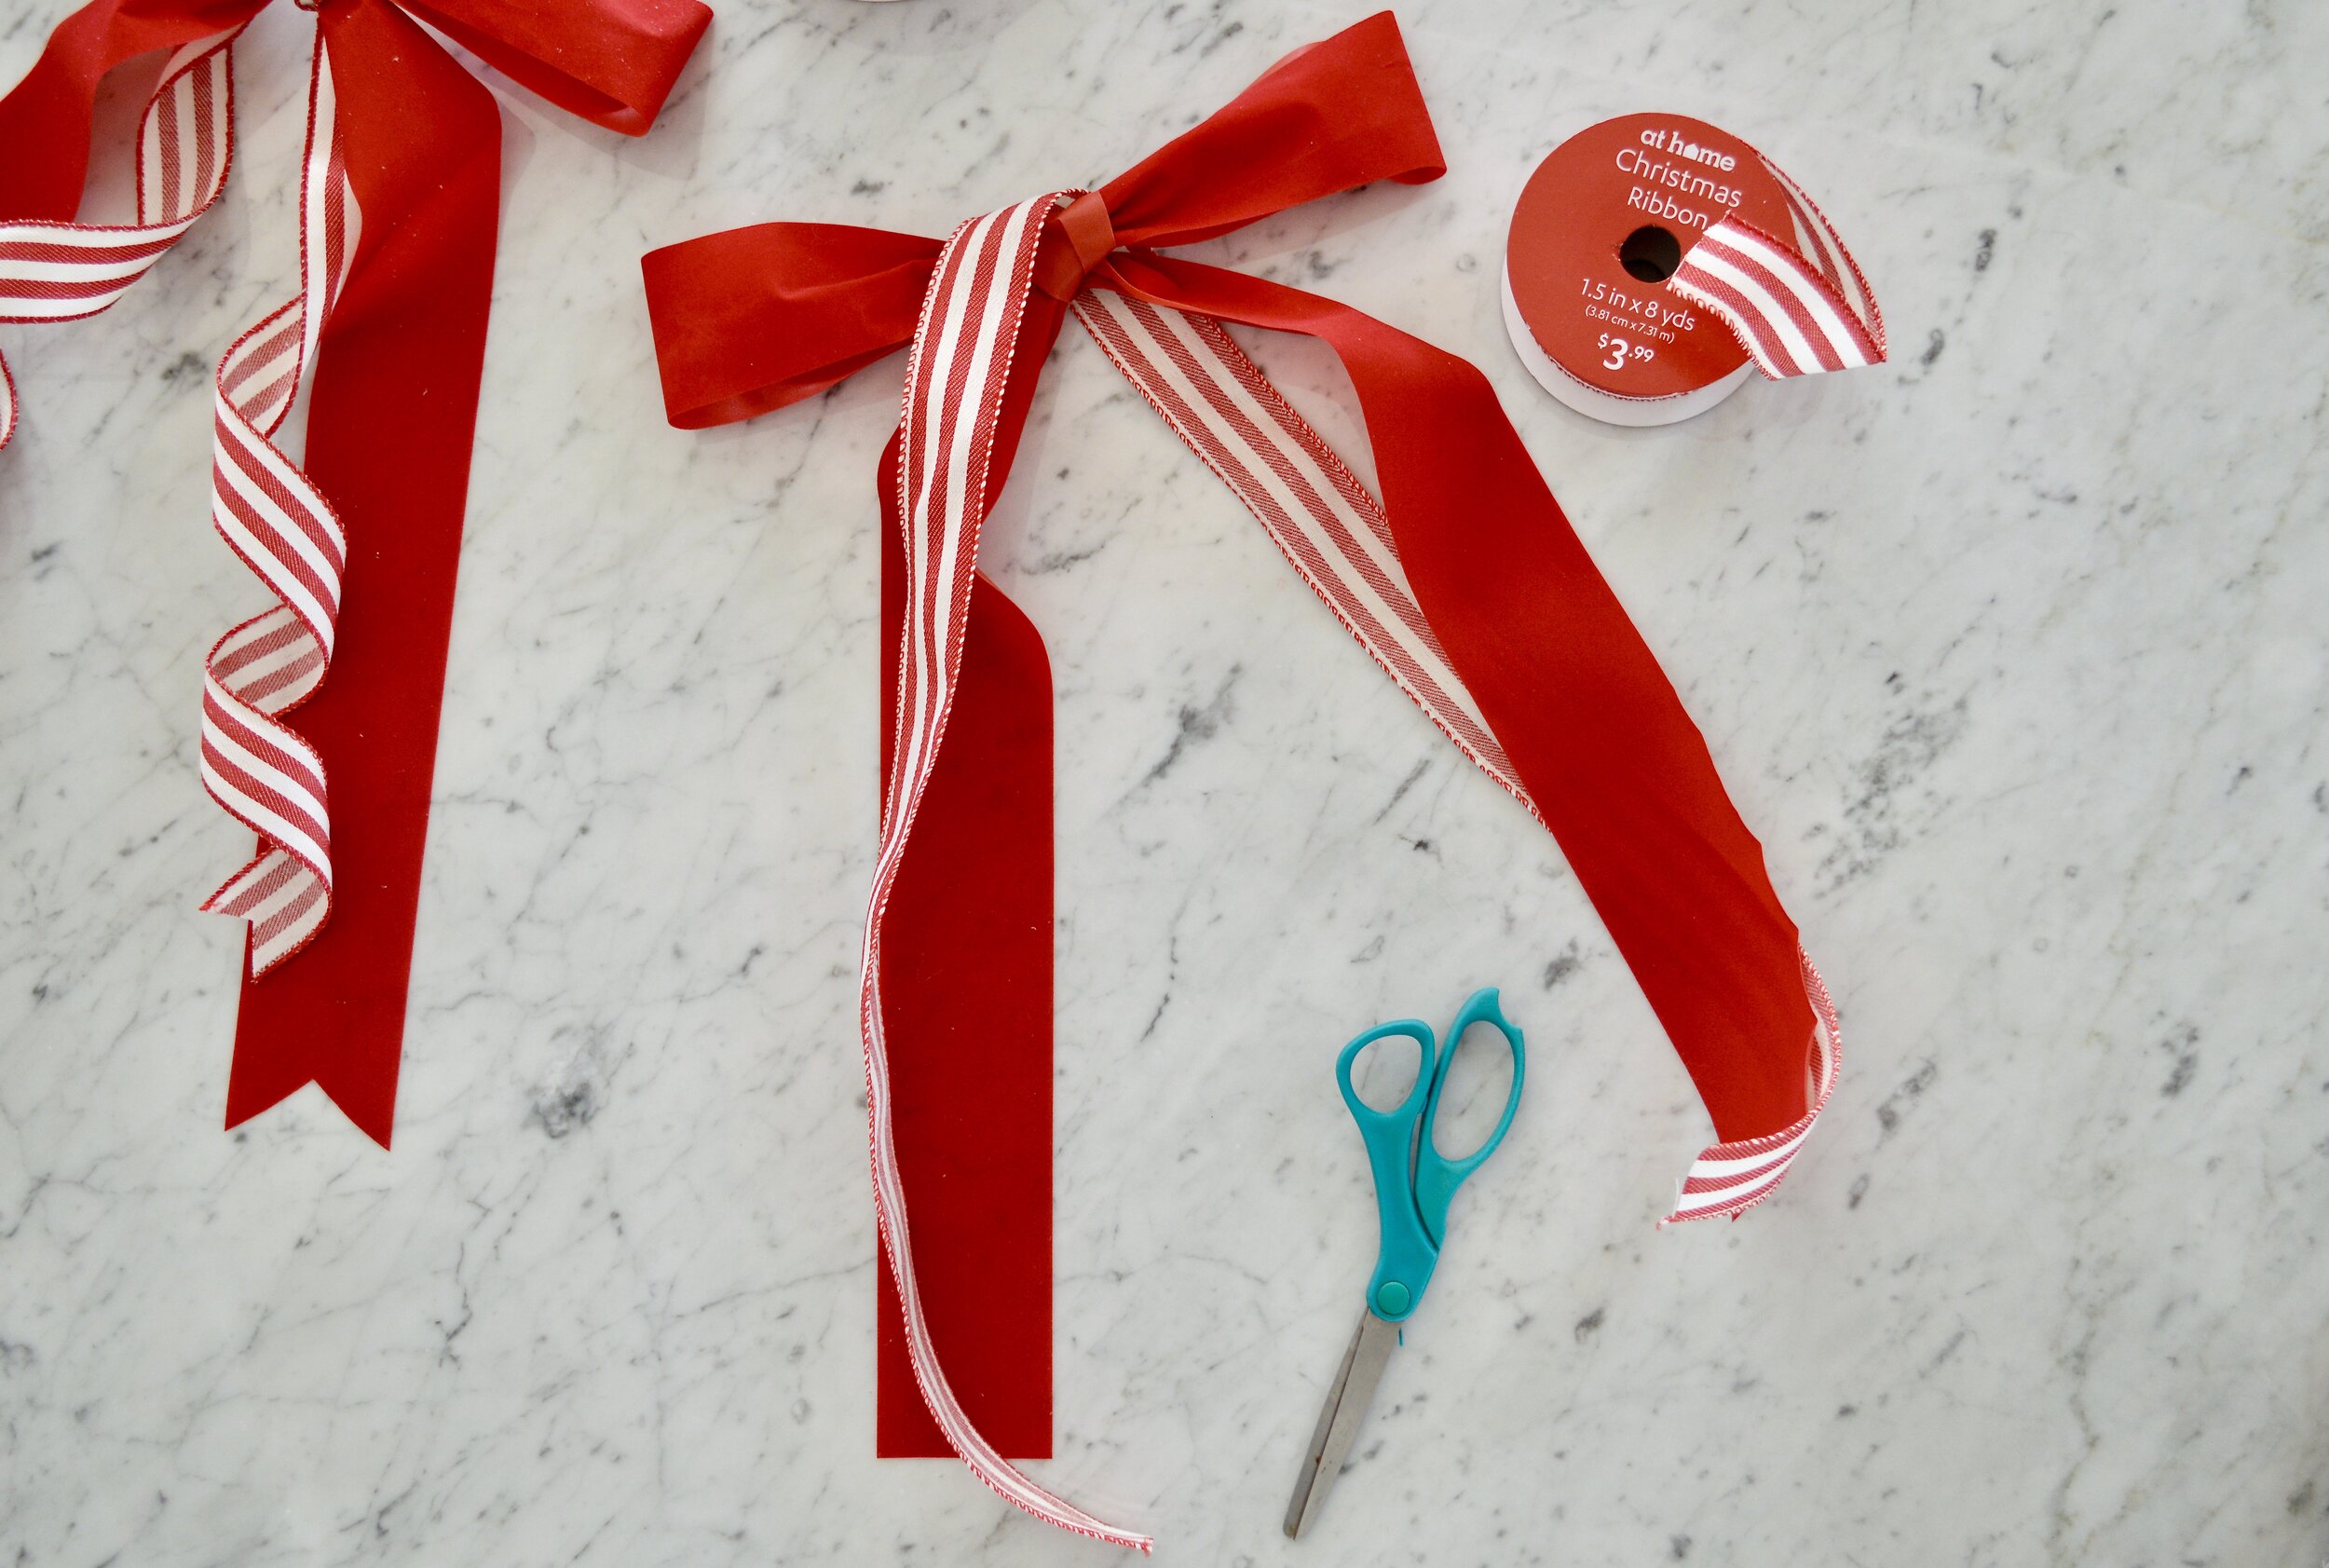
Here is a list of supplies you will need to get started!
Scissors
Measuring Tape
2-3 Spools of Ribbon

Yep, that’s it. Just these three items! Let’s make some holiday bows!
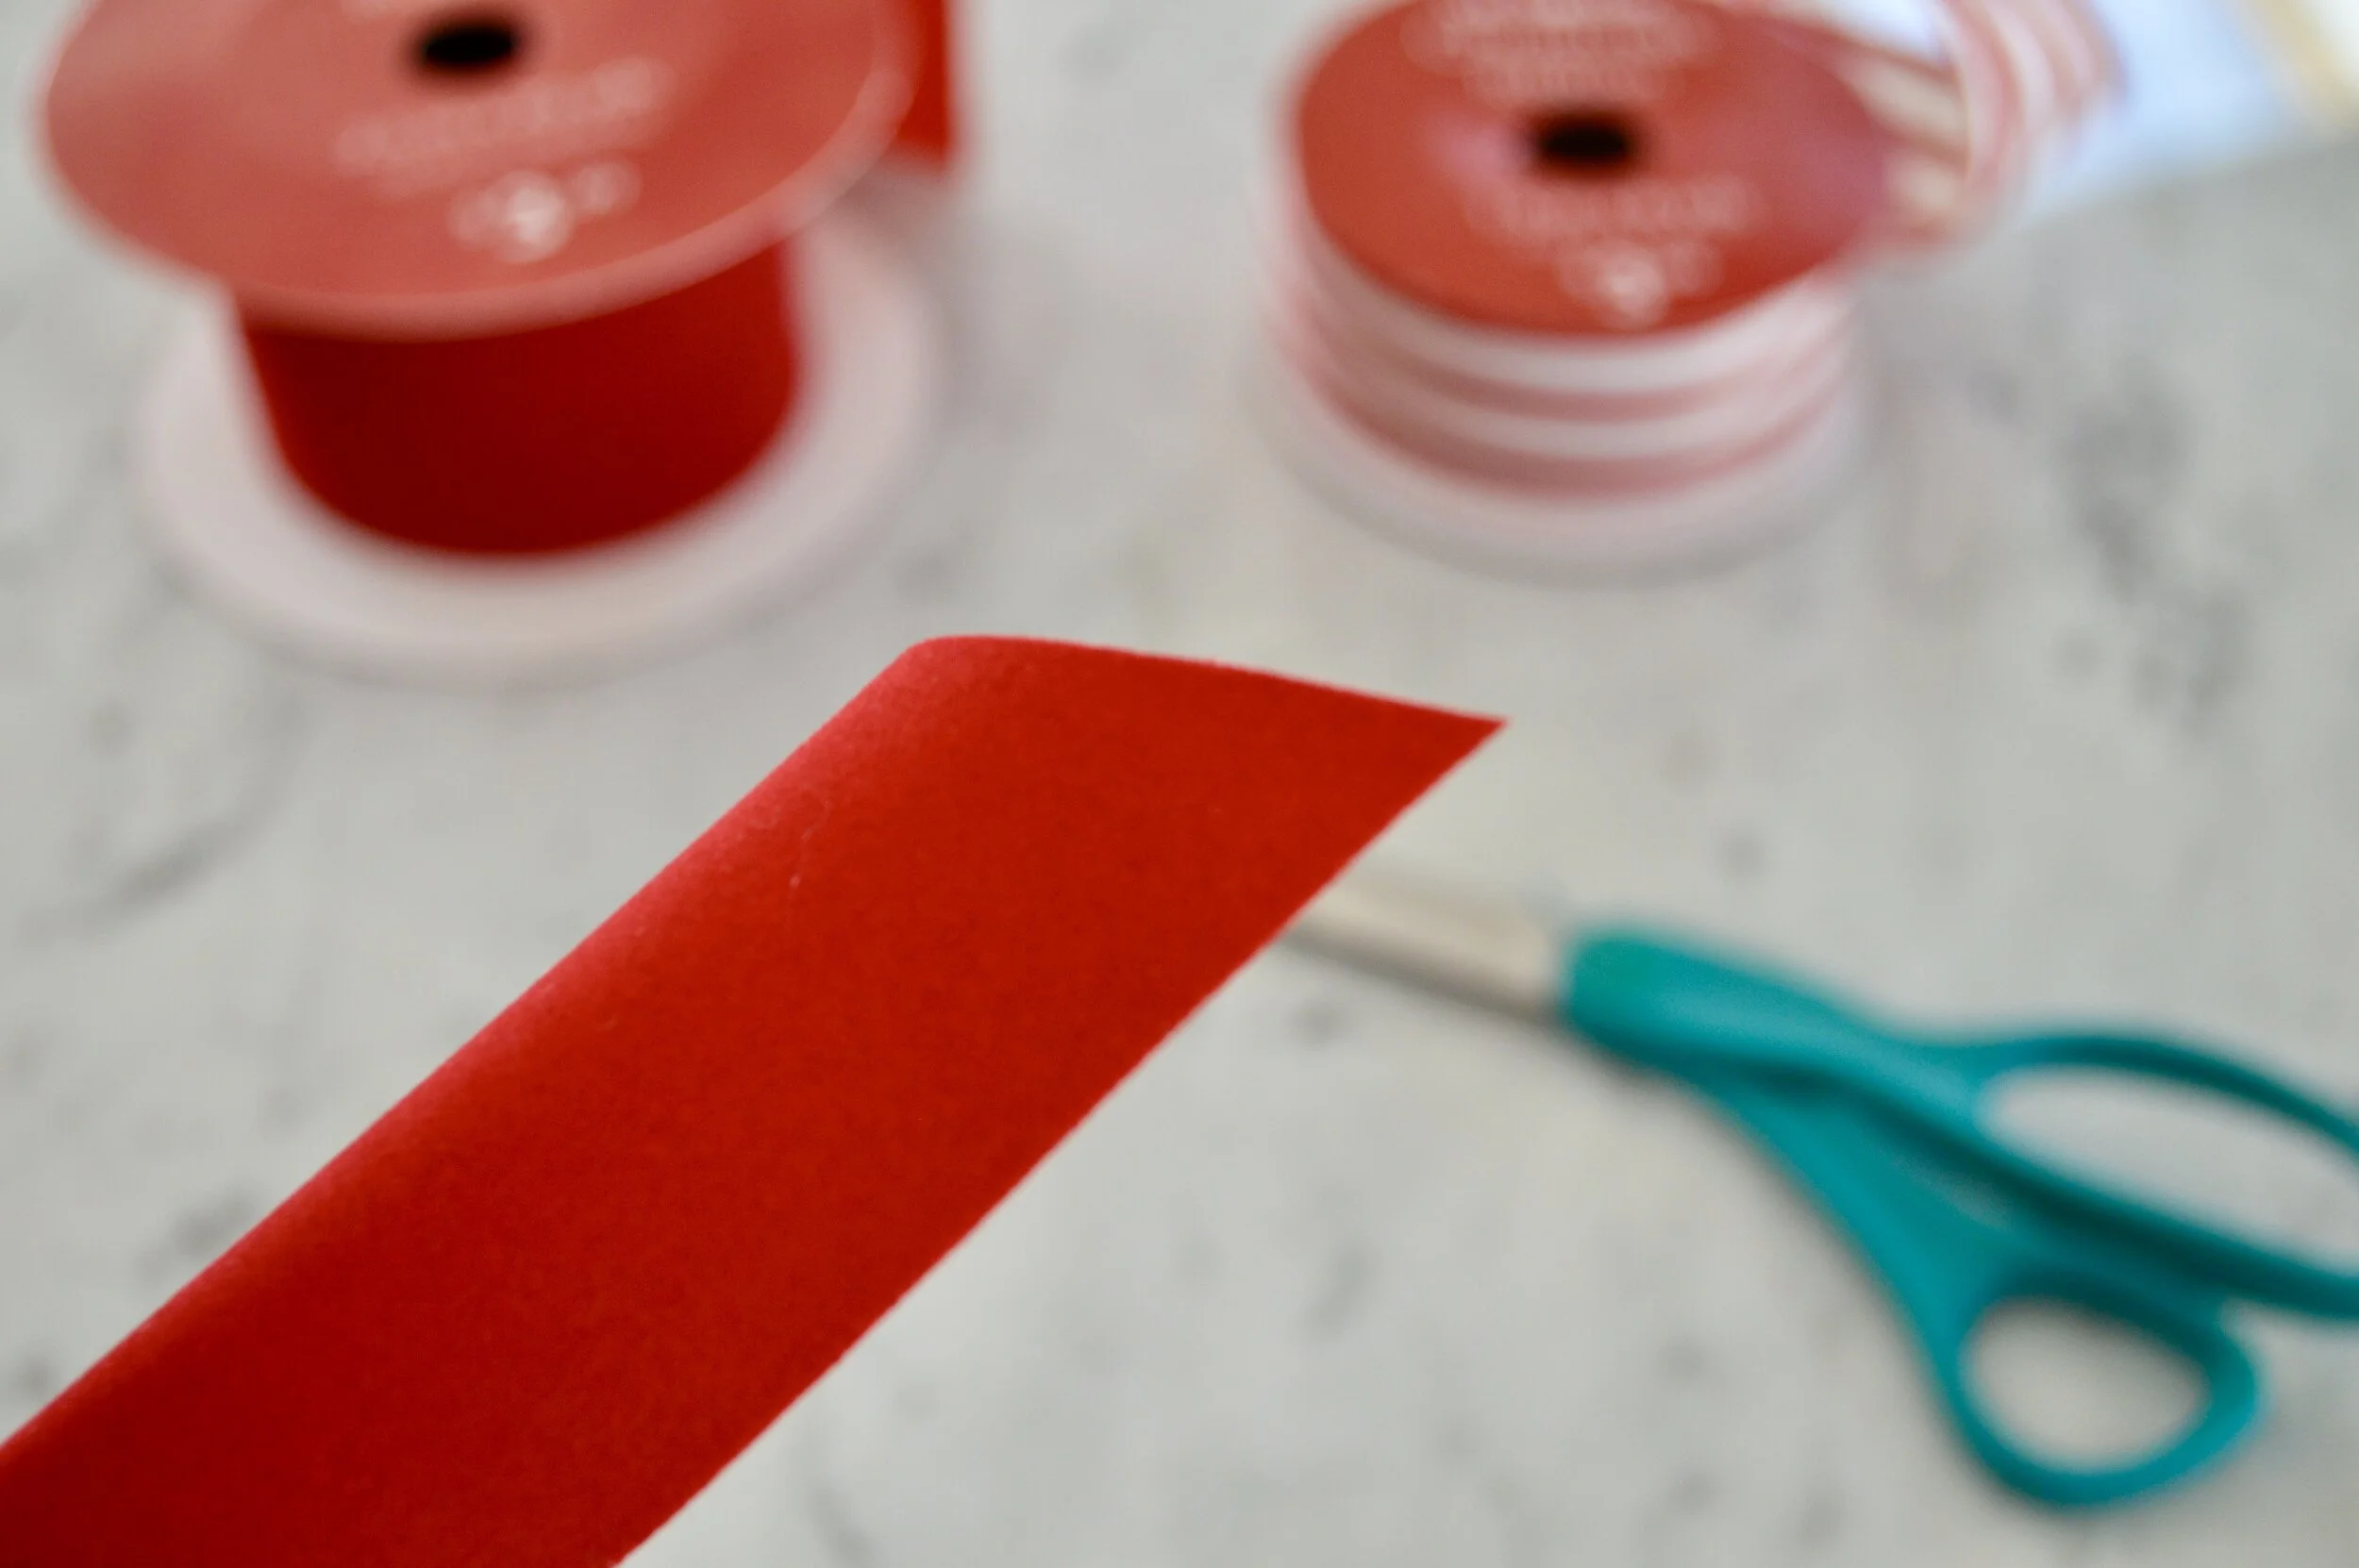
Step 1: Measure the main color of ribbon to your desired length & cut it. This is the ribbon you will be using to make the actual bow portion. Mine are 65” in length.


Step 2: Create three loops, or “two bunny ears” with your ribbon. One loop upward, one downward, & another upward. My loops were 8" in length, but you can make them whatever length you’d like!
Step 3: Cross the right loop over the left loop. Fold the right loop over & pull it through the center loop to make your bow. Tighten & adjust the bow as needed to achieve your desired shape.

Step 4: Drape your accent ribbon over the center portion of the bow. Line the accent ribbon up with the tails of your existing bow. Cut your accent ribbon to your desired length (see **Tip below prior to cutting for my personal preference) & knot it around the center portion of your bow.
**Tip: Before you cut your accent ribbon, add a minimum of three inches of length to both tails, or six inches in total length, to ensure that they do not get too short once you curl them (curling is optional & works best with wired ribbon).

Step 5: Fold the tails of your ribbons in half lengthwise. Starting from the center point of your fold, cut the ribbon at a 45º angle upwards & towards the outer edges.

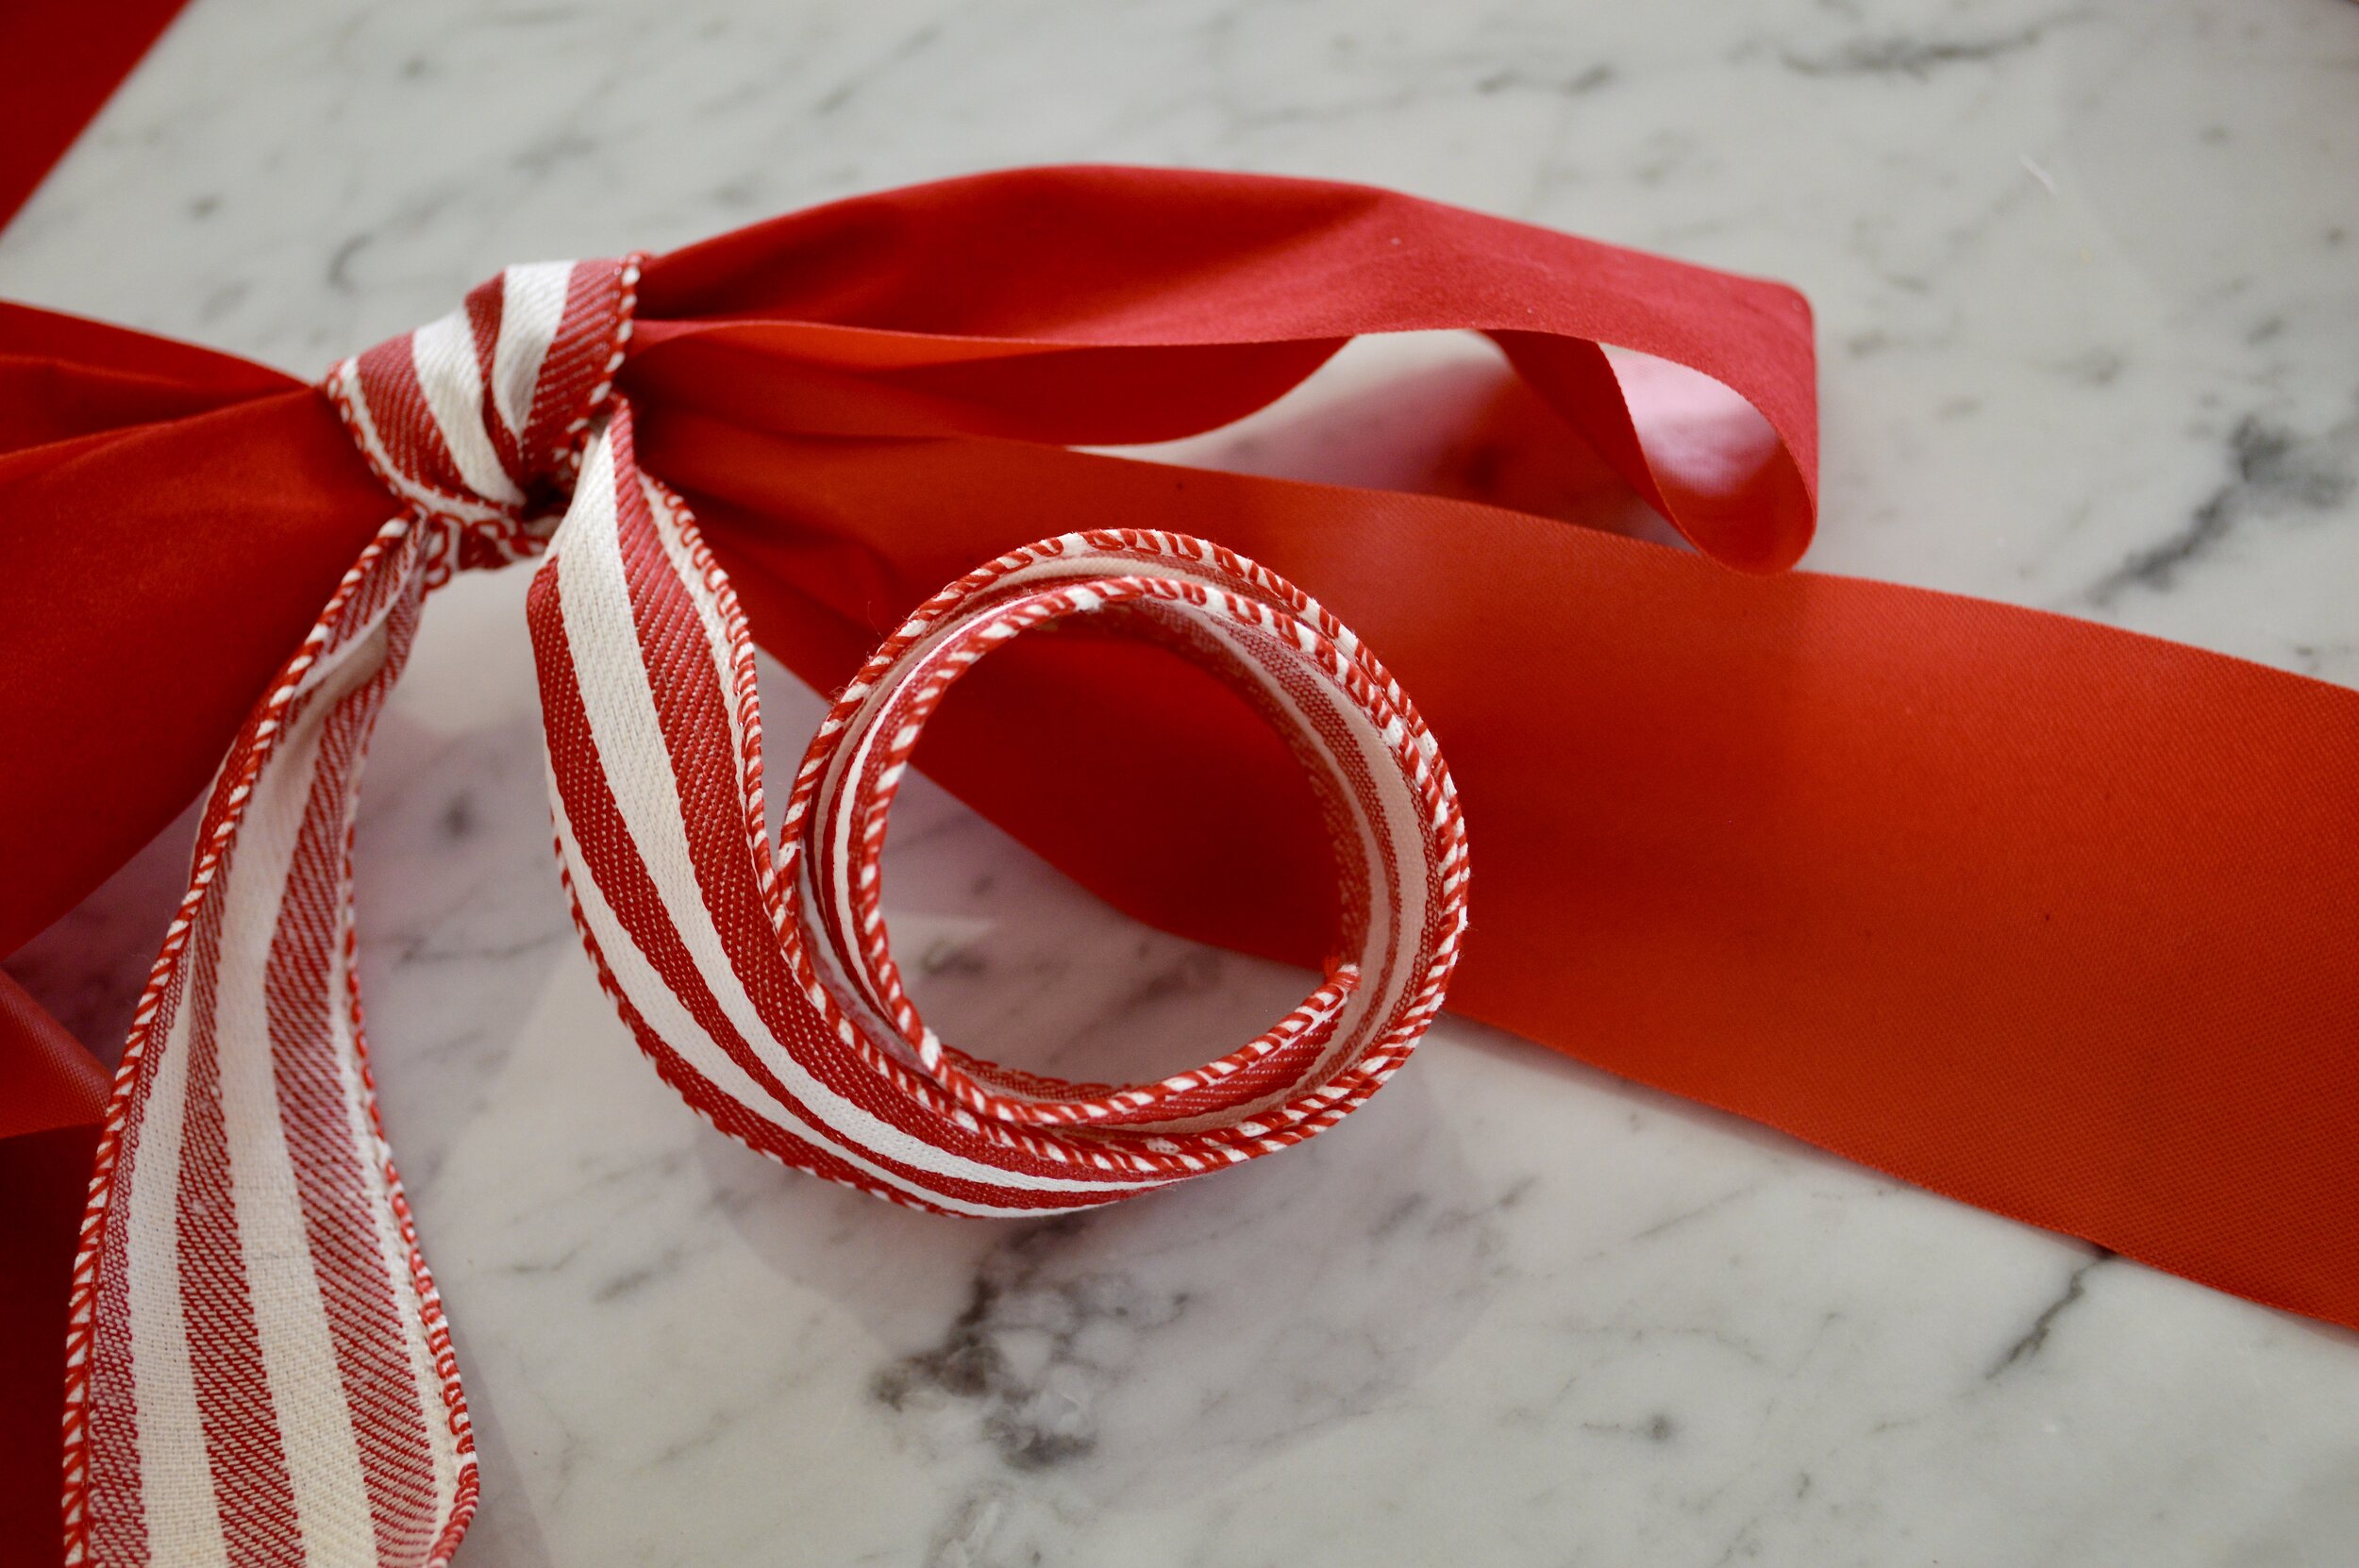
Step 6: To create your ribbon curls, you will need to wind your accent ribbon around a cylindrical object & press it down firmly. You can wrap it around your finger, a curling iron, a roll of wrapping paper, or even a straw. It is totally up to you & just depends on how tight or loose you would like your curls to be. After you slip the ribbon off of your curling tool of choice, you should end up with beautiful curls. I pulled the ends of the curls straight down a bit just to add some length & loosen them up.

Ta da! Now you have your very own custom holiday ribbons! I hope you had as much fun making yours as I did! I used one and a half spools of the red ribbon & about half a spool of the striped ribbon to create a total of eleven bows.

Here's another look at the bows on our tree, in case you missed the original post here. These bows ended up being such a simple, inexpensive, & impactful way to add color to our tree! I purchased my ribbon at my local At Home store. If you have one in your area, I highly recommend checking it out! They have the most beautiful holiday decor at such affordable prices!


Thank you for stopping by! I hope you found this tutorial helpful! If you make your own holiday bows, I would love to see them! Please tag me in your DIY holiday bow photos on Instagram - using my IG handle @GardeniaGrove & the hashtag #GardeniaGroveDIY.
Wishing you & your loved ones a very happy holiday season!
Yours Truly, Victoria


I hope you love the products I have recommended! This post may contain affiliate links. This simply means that if you click one of the affiliate links, then make a purchase, I may make a small commission at no additional cost to you. Commission that I earn through affiliate links helps me keep my blog running. My work with affiliates does not determine the content I share, as I only share content that I truly like or recommend.